How do I create my first presentation?
How to work through the five steps to a PowerPoint file.
Updated 16 November 2026
Introduction
Create an account and build a short presentation through PointProven's five steps: Frame, Argue, Outline, Design and Deliver. At the end, you download a PowerPoint file.
Each step has its own guide. Here you do only what each step needs before the next one opens.
How to
Before you start
Have one piece of material to hand: a PDF, a PowerPoint, a Word file, a spreadsheet or a text file about a question you know well. A board pack or a short report works well. If you have no file, a few paragraphs of your own notes are enough.
PointProven does not include sample material, so use your own.
Create your account
Open the link in your invite email, Your invite to the PointProven beta, or on www.pointproven.com select Sign in, then Sign up. See Sign up and sign in for the account options.
In Choose a password, use at least 12 characters and no more than 99. On Check your email, open the verification link to return signed in. The welcome questions What’s your name? and What’s your firm called? ask for your name as colleagues know you and your firm’s name. PointProven then opens your first deck.
Say who the deck is for
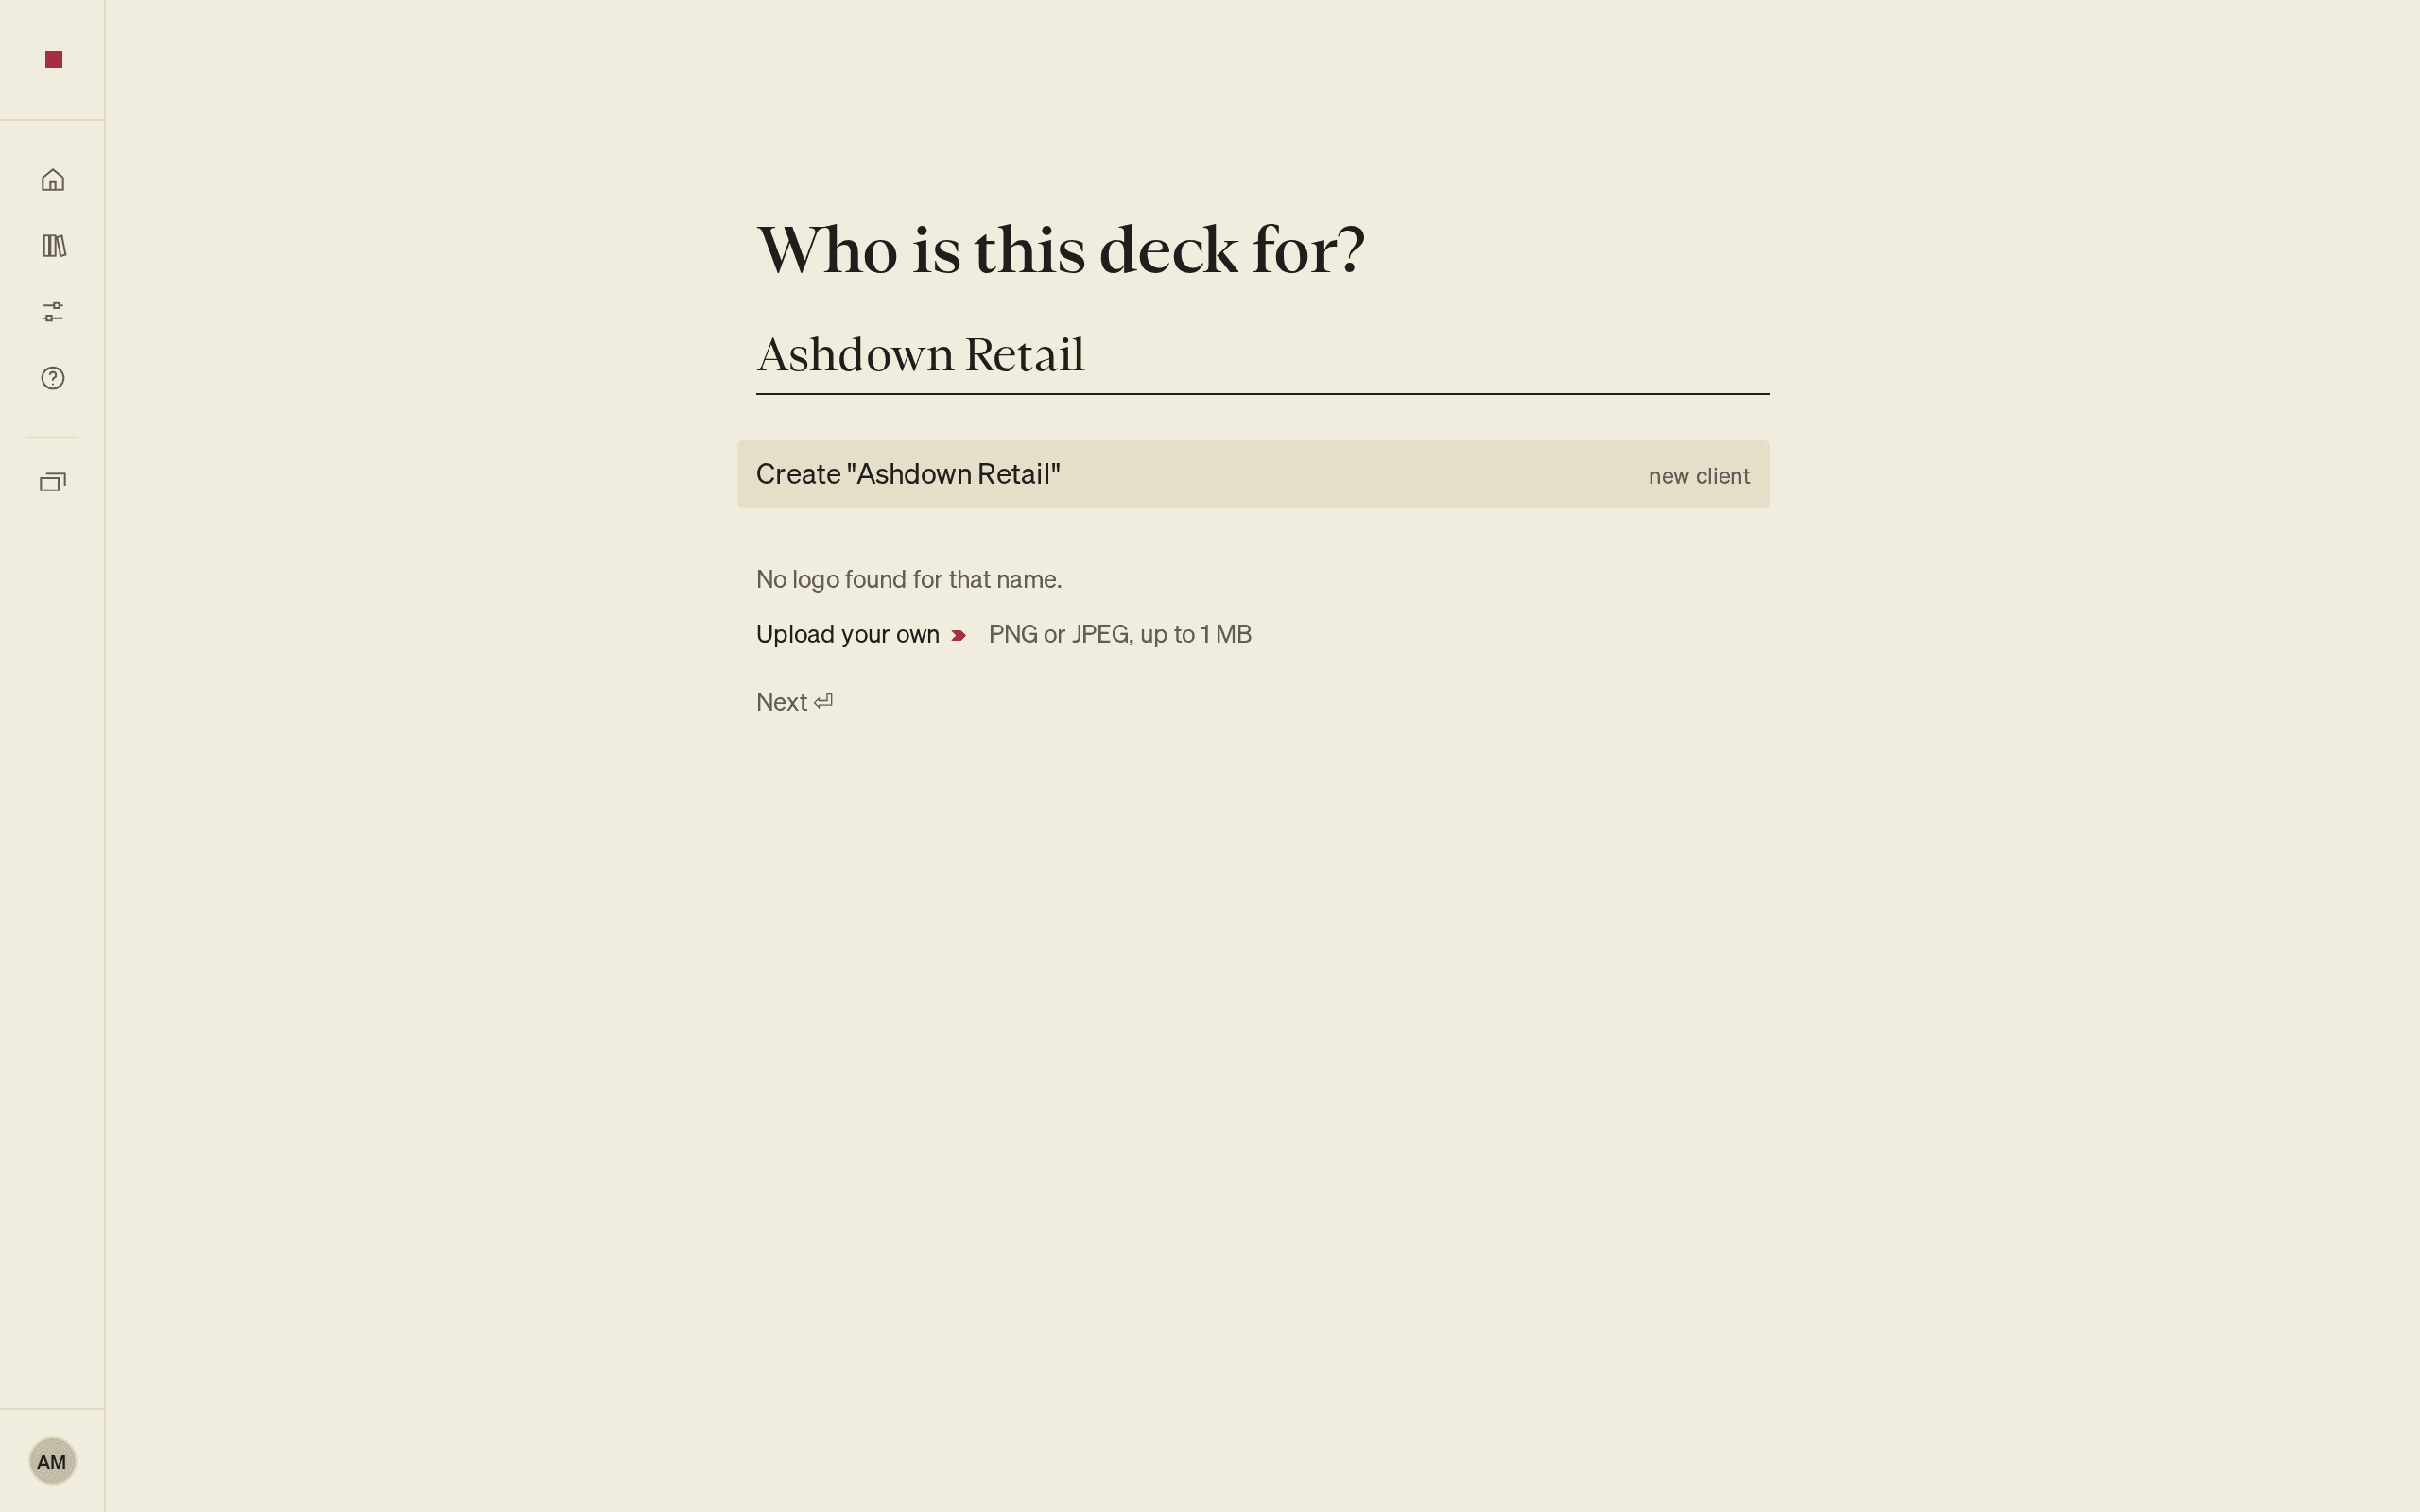
- Under Who is this deck for?, type the client’s name. For an internal deck, type your own firm’s name.
- For a new client, The client’s logo shows the logos PointProven finds for that name. Press ↓ to move into them and Enter to take one, or select Upload your own. If it finds none, it says No logo found for that name.
- Press Enter.
A deck belongs to one client. Its material stays with that client.
Frame the question
Frame asks six questions, one at a time. The order is client, material, structure, Question, Complication, then Situation.
Answer each question. Press Enter, or ⌥↓ (Alt+↓ on Windows), to go to the next. To go back a question, press ⌥↑ (Alt+↑).
- Under Who will you present to? (Who is the audience? on a deck for your own firm), type the name of the person you are presenting to, then press Enter. If lookups are switched on and you gave a full name, PointProven may offer a match in the margin to confirm. Under the name, a line Tailored for: … then shows, with Change.
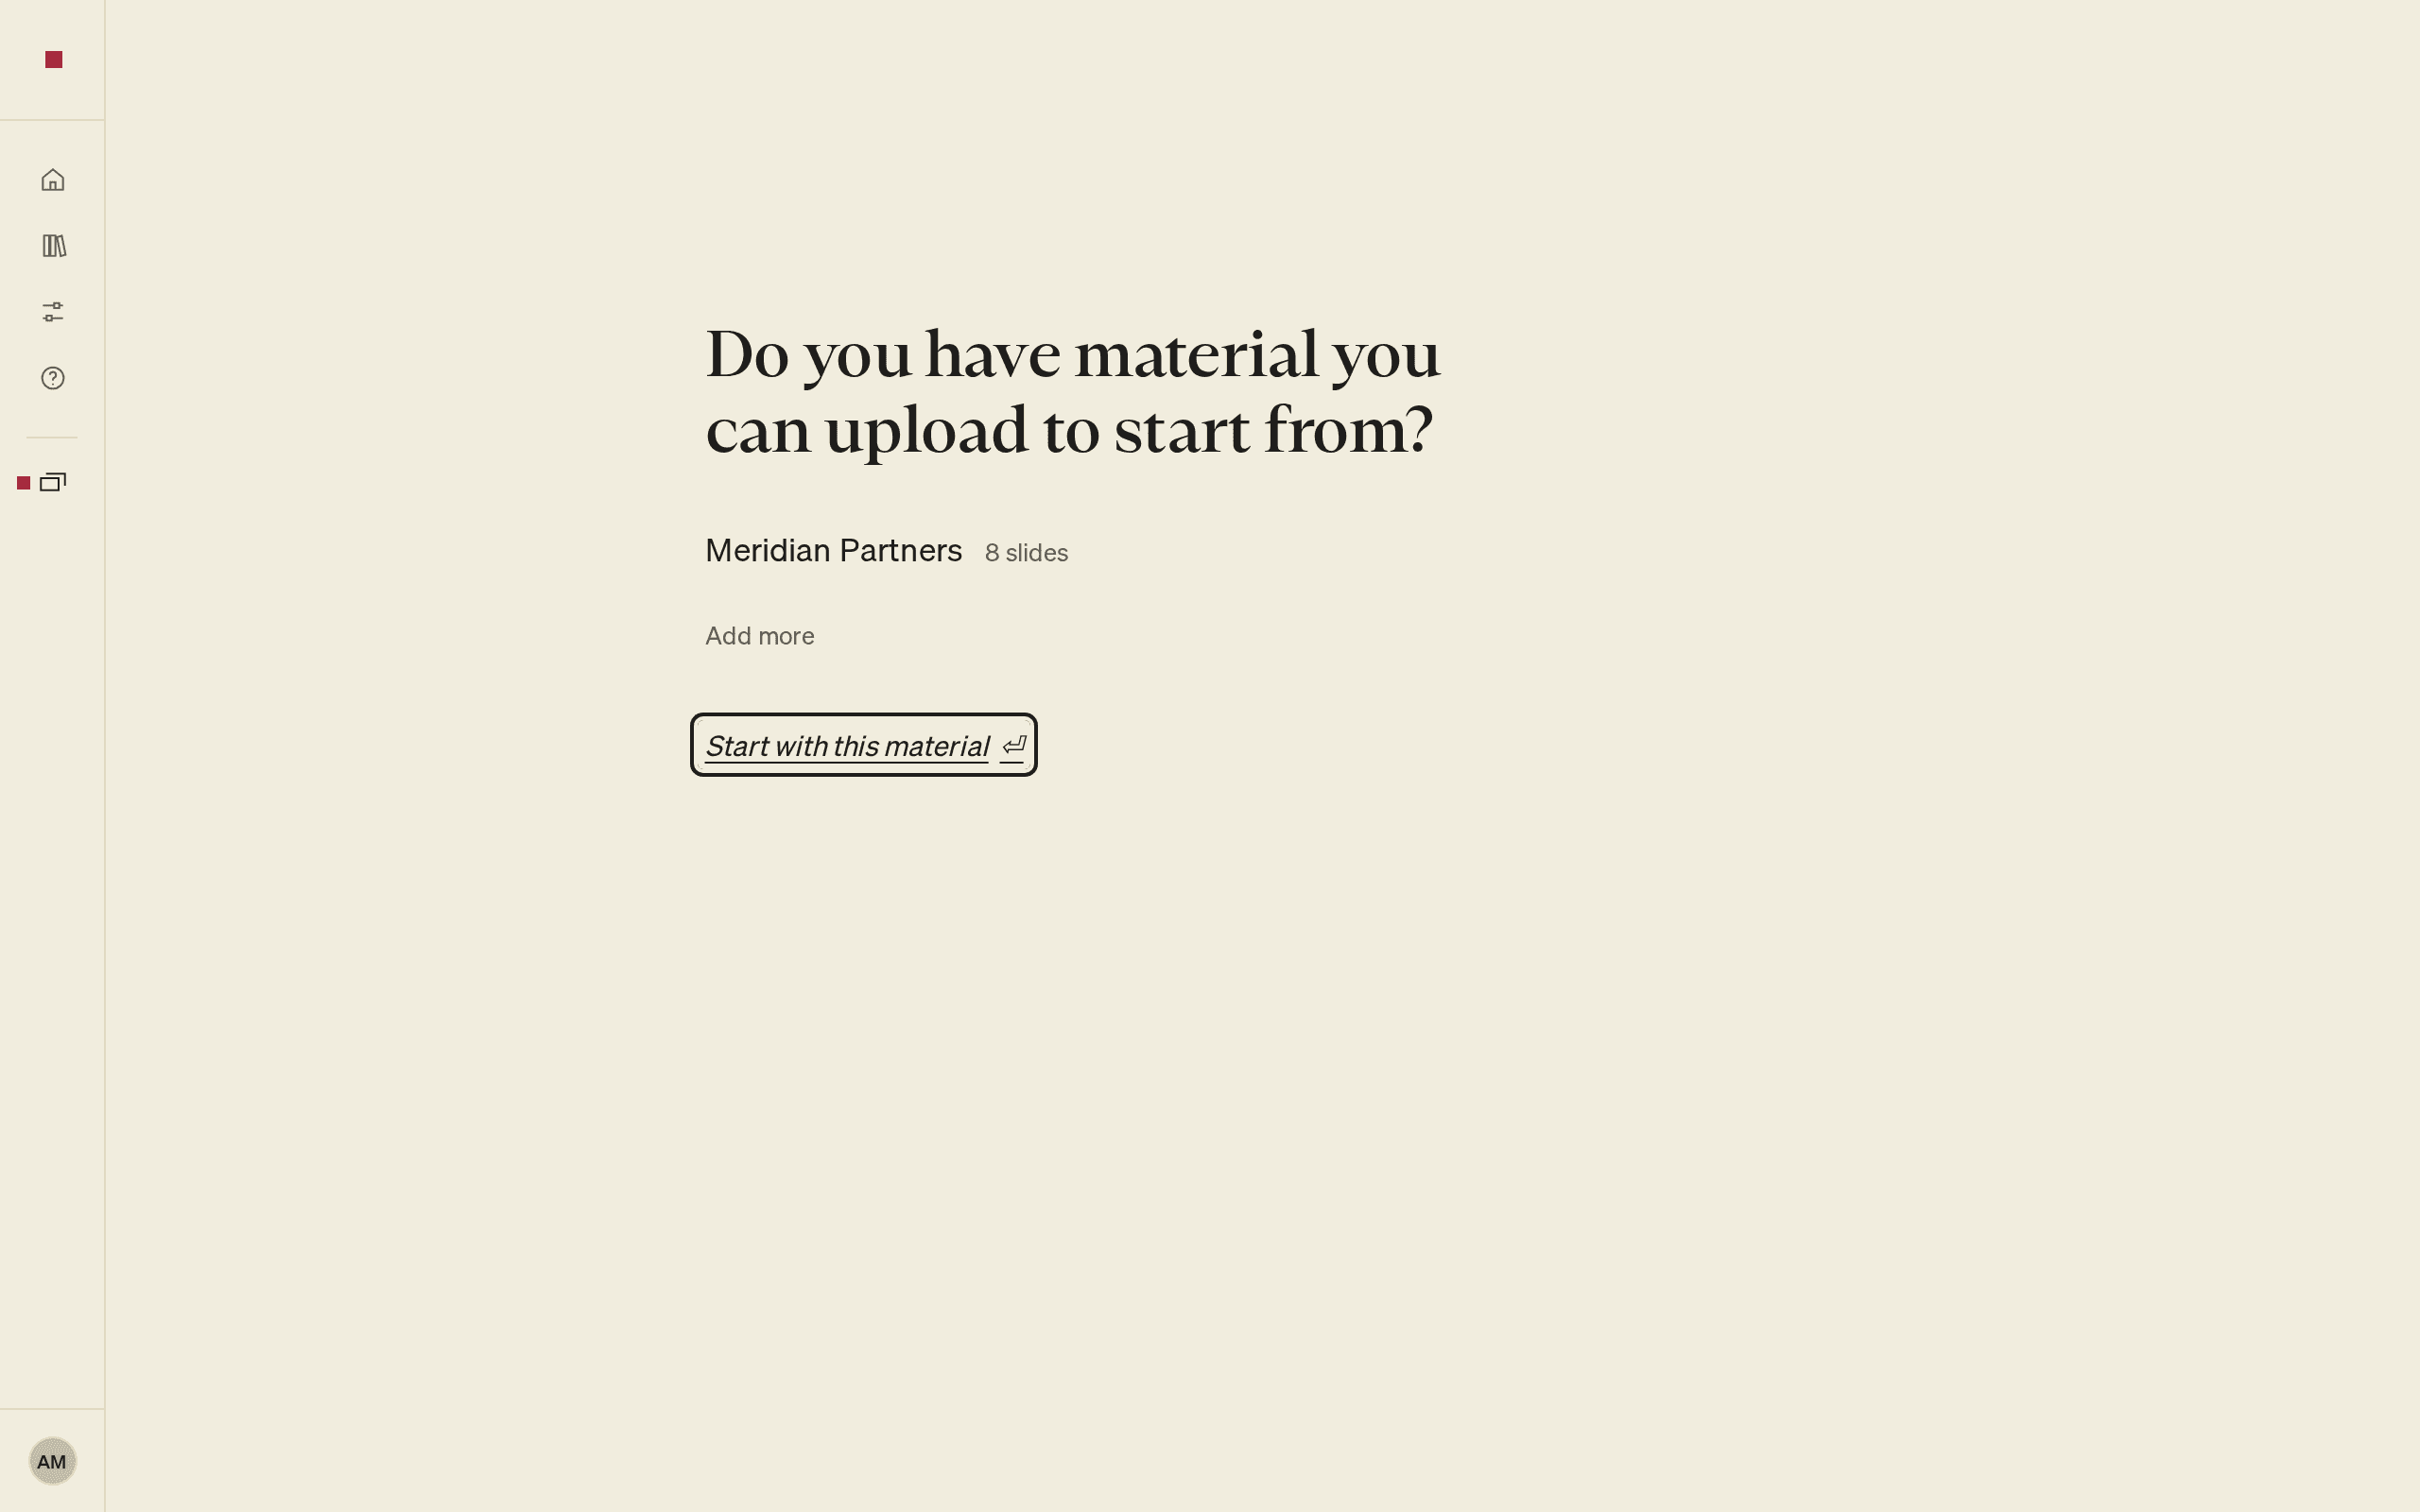
- Under Do you have material you can upload to start from?, select choose them and pick your file. You can also drop the file anywhere on the page. To use notes instead, select paste notes, paste the text, then select Add the notes.
- The file’s line says reading until it shows Ready, with its slide or page count. You can go on while it reads.
- Select Continue. Your files keep reading while you answer the next questions.
For more on files, notes and reusing a client's material, see Upload files and notes.
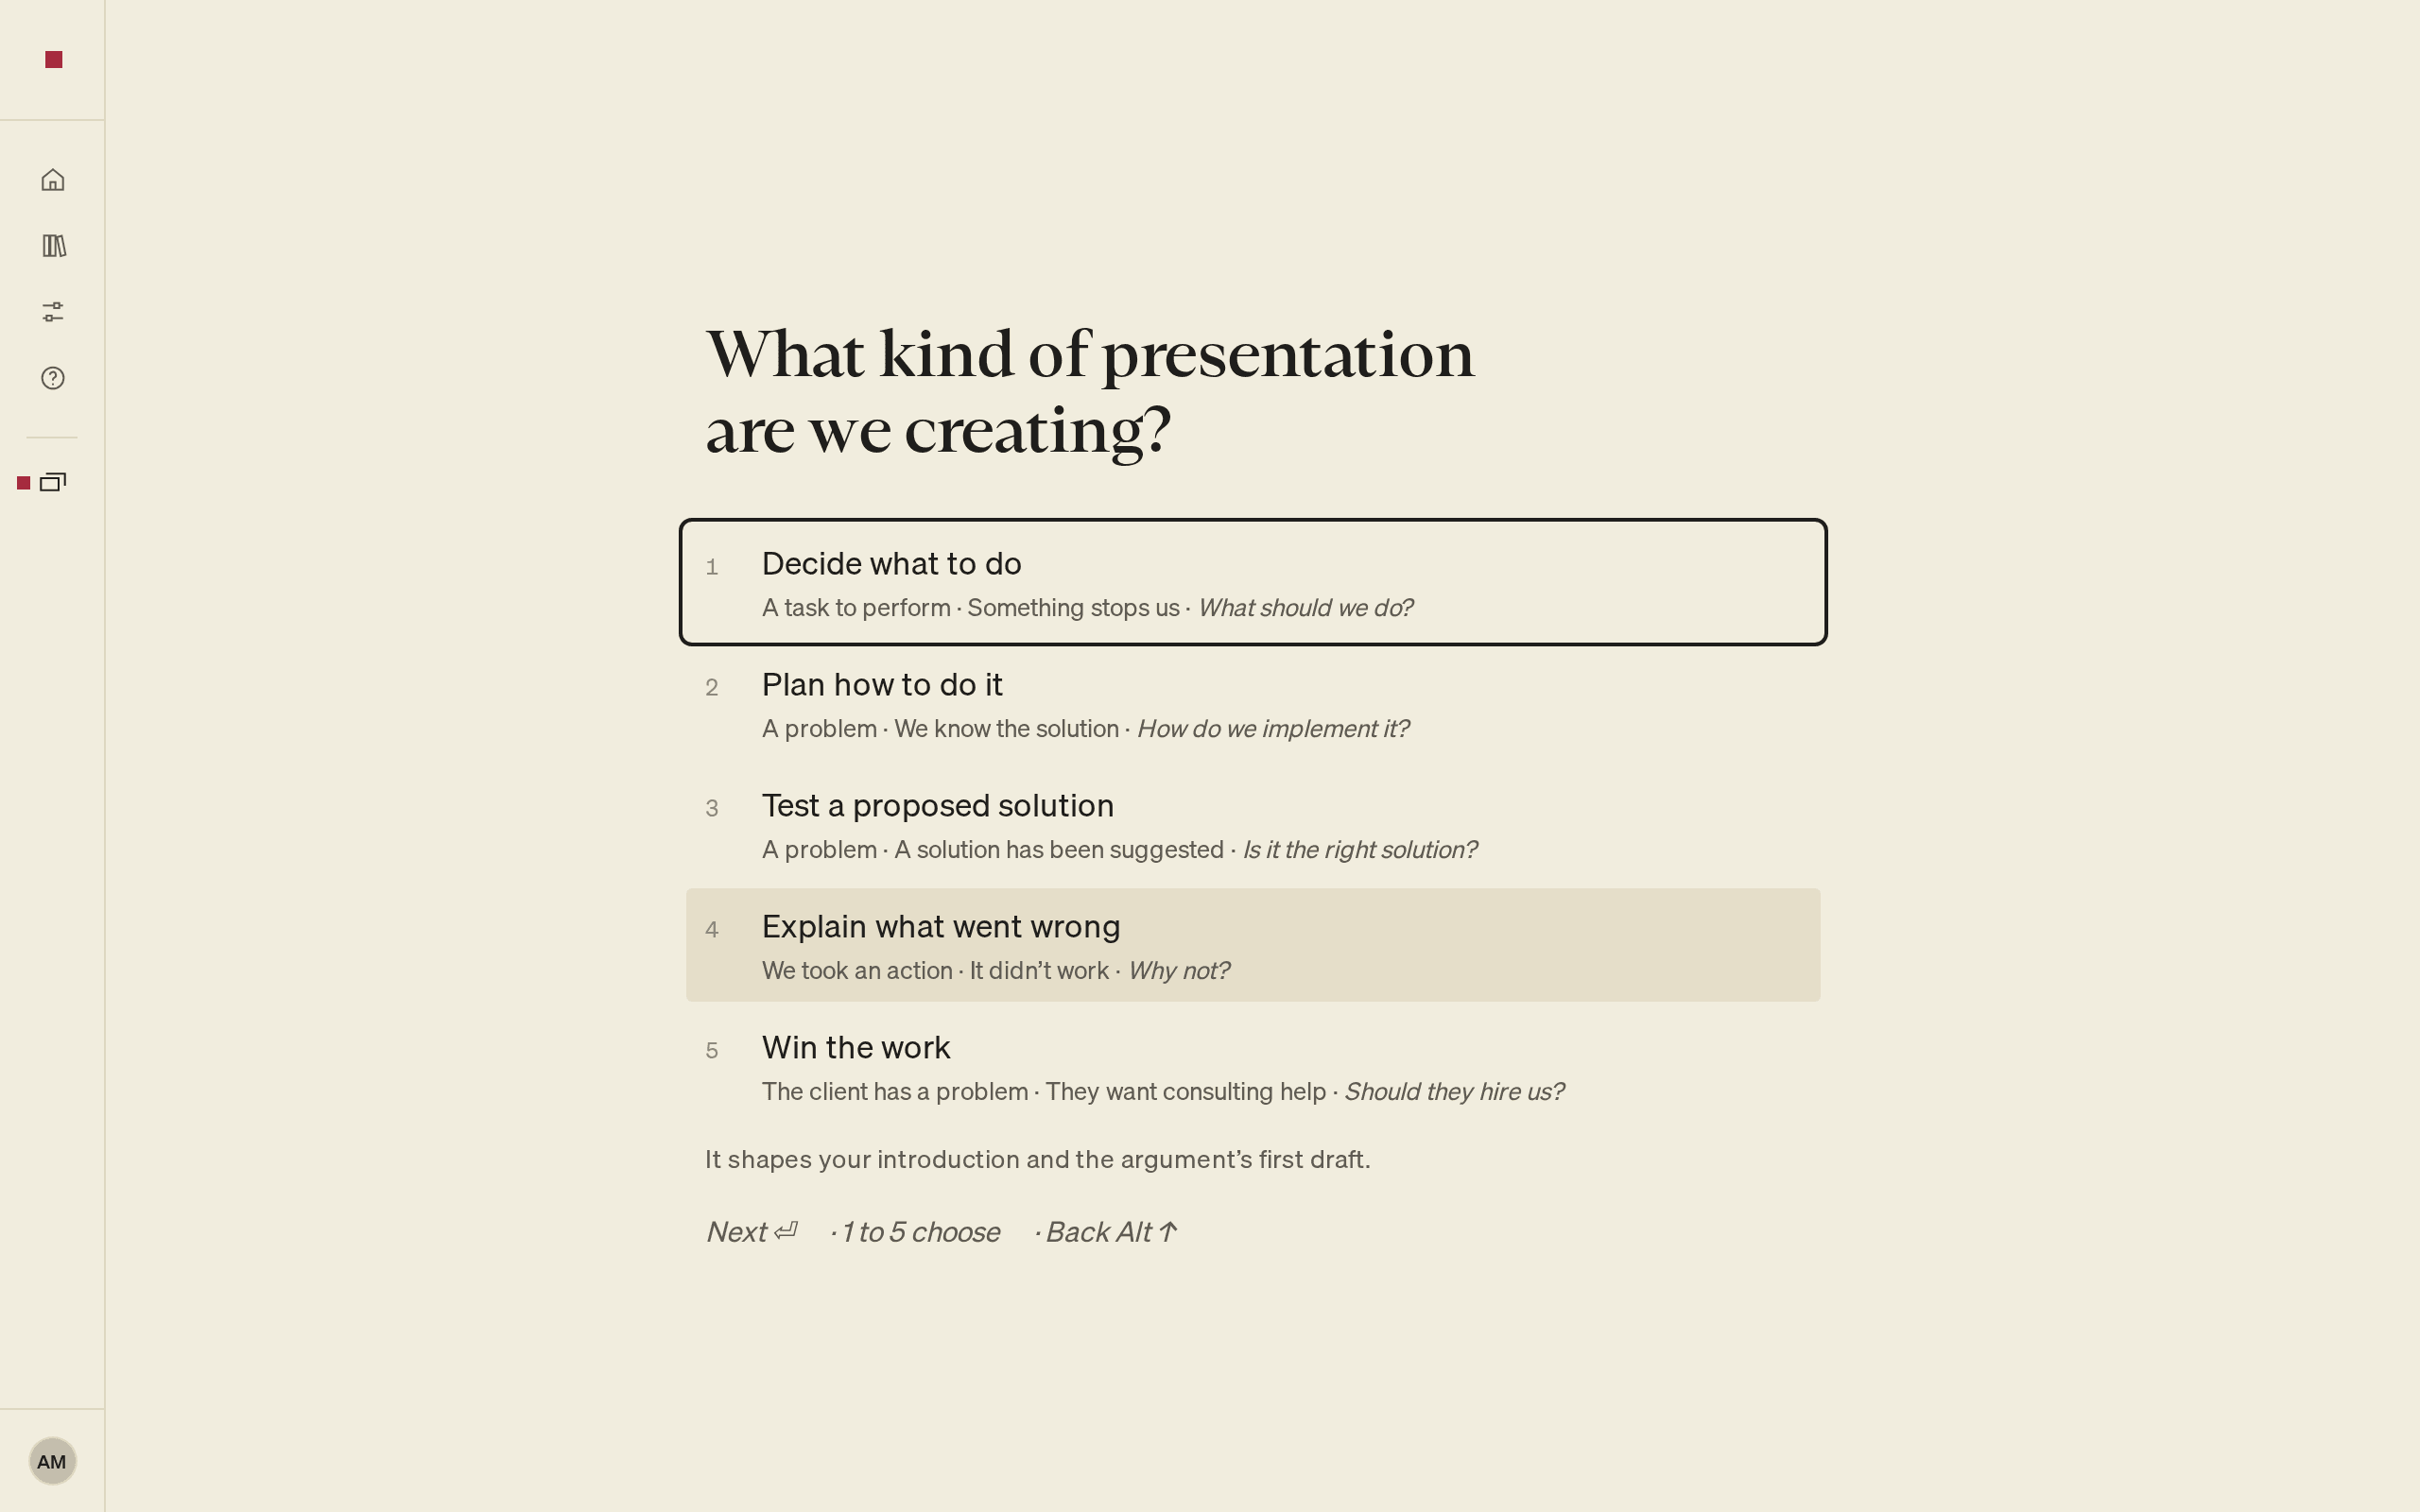
Frame then asks four more questions:
- What kind of presentation are we creating? Choose one of five structures with the keys 1 to 5: Decide what to do, Plan how to do it, Test a proposed solution, Explain what went wrong or Win the work.
- What question does this deck answer?
- What changed to raise this question? For Plan how to do it and Test a proposed solution, it asks for the solution instead.
- What situation is your story built on?
When PointProven offers a suggestion beside a question, select Apply to use it, or type your own answer. If you added material, Draft it for me appears beside the Situation, once you have written the Question and chosen a structure, for as long as you have never typed a Situation.
When the last question is answered, press Enter again, or select Next: Argue beneath the answer or at the bottom of the page.
For what makes a good answer to each question, see Define the question.
Argue your answer
Argue holds the answer to your question and the points that support it.
- If your deck has material, PointProven drafts an argument onto the page. It is yours to edit. To write your own instead, select Start from scratch, above the checks.
- If you chose Win the work, Argue opens with four cards to fill in. See Build your argument.
- Make sure the argument has an answer at the top and at least one point beneath it.
- Select Next: Outline at the bottom of the page.
To build a stronger argument, see Build your argument.
Outline the storyline
Outline turns the argument into slides, one headline per slide.
When you first open Outline, PointProven drafts the storyline onto the page. It is yours to edit. To write the slides yourself, select Start from scratch, beside the first slide.
To move on:
- Make sure at least one slide has a line beneath its headline.
- Select Next: Design at the bottom of the page.
To shape the storyline, see Plan your storyline.
Design the slides
- When PointProven asks you to choose a theme, choose one. Your next deck for the same client starts in the same theme.
- Open a slide with a Layout choice: not the cover, Situation, Complication, Executive summary, Next steps or an appendix slide, whose layouts are fixed.
- In Layout, choose a layout, then press Enter. The slide is now ready.
- Select Next: Deliver at the bottom of the page.
Deliver opens with Design, and lists the slides that aren't ready yet. Make them ready the same way when you build a real deck. See Design your slides (Design).
Export and download
- In Deliver, read any lines PointProven lists. Each one is a check on your deck, such as a figure with no source. You can fix them later.
- Select Export. If lines are still open, the button reads Export anyway.
- When the file card appears, select Download.
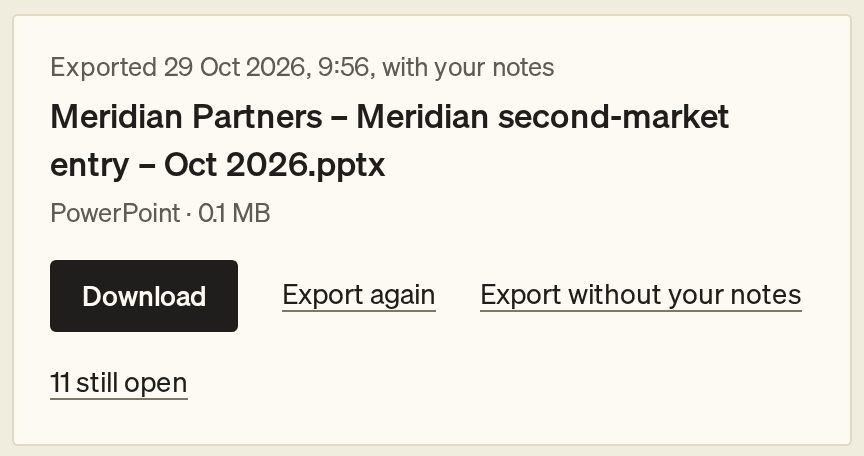
Open it in PowerPoint. The text and charts on each slide stay editable. To export again after changes, see Review and export to PowerPoint (Deliver).
FAQs and common issues
Can I start without a file?
Yes. Use a few paragraphs of your own notes. PointProven does not include sample material.
Does reaching Deliver mean the whole deck is finished?
No. One slide with a line opens Design, and one ready slide opens Deliver. These are the minimums for moving on. Make the remaining slides ready and review open issues before sending a real deck.
What happens if I change the deck after exporting?
You now have a deck on Home, on its client’s shelf, marked Exported with the date. If you change the deck later, export again to get a new file.
To learn how the five steps fit together, see What is PointProven?.